
 By John Mercado
Looking for tiny, powerful lights for your next project, display, or model? Then you are probably exploring mini led lights and wondering which type is best, what voltage to use, and how to wire them safely.
These small lights can transform everything from craft projects and RC models to TV backlighting and gaming setups. When you understand a few basics about voltage, brightness, and form factor, you can plan clean, reliable lighting that looks professional and lasts for years.
This simple guide walks you through what mini LED lights are, the main types, how to read key specs, and a step-by-step method to choose the right ones for your needs.
What Are Mini LED Lights?
Mini LED lights are very small light-emitting diodes designed to fit into tight spaces while still giving strong, focused light. They are low-voltage devices, which means they usually run on a few volts of DC power, often around 3 volts.
Compared to old-style bulbs, they use far less power, stay cool, and last a very long time. The tiny size lets you hide them in models, signage, toys, and custom electronics without spoiling the design.
They are also very popular for backlighting in screens, such as mini LED TV panels and instrument displays, because you can place many small LEDs very close together for smooth, bright light.
Main Types & Form Factors
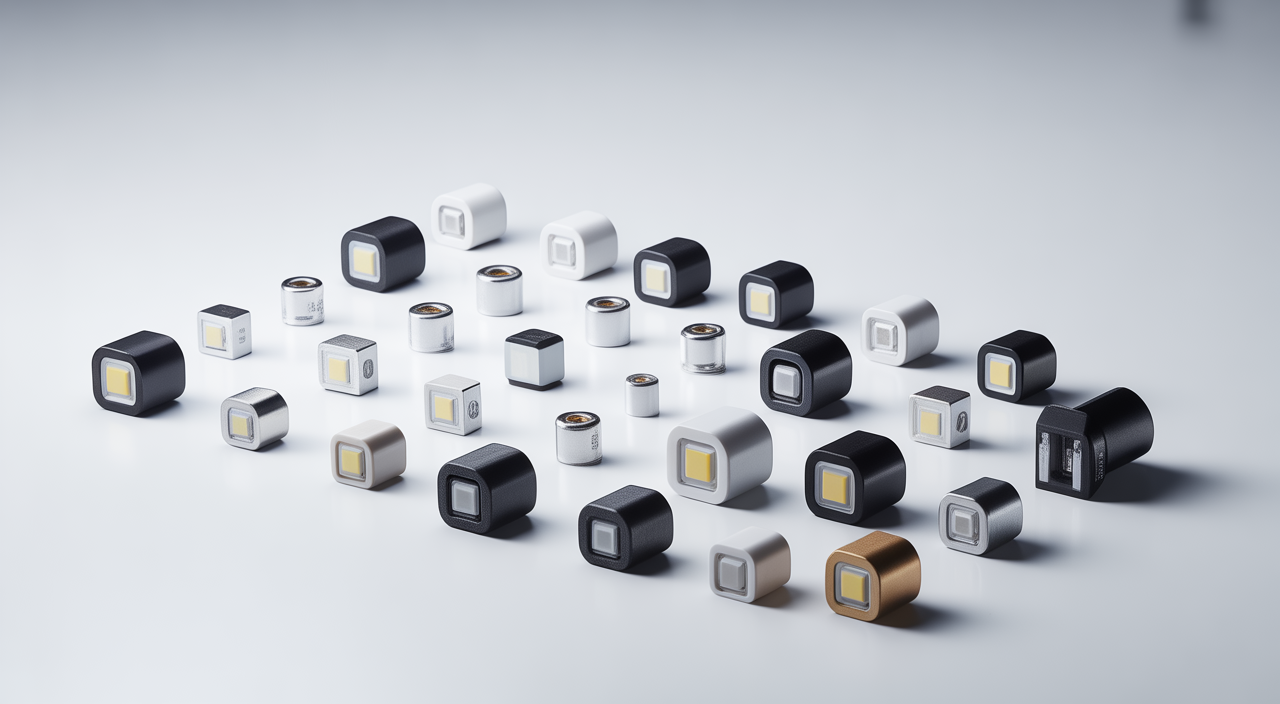
When you shop for mini LED lights, you will often see two broad physical styles. Understanding them helps you pick the right one for your project.
- Through-hole LEDs: These have two wire legs that you push through holes in a board or surface. They are easier for beginners to solder and great for hobby projects and simple circuits.
- SMD (surface-mount) LEDs: These sit flat on a circuit board without legs. Common sizes include 0603 and 0805. They are tiny and perfect when you want a low-profile, professional finish or need many LEDs in a small area.
There are also mini LED strips, where multiple tiny LED chips are pre-mounted on a flexible strip. These are handy for cabinet lighting, case lighting, and soft accent light along corners or shelves.
Key Specifications You Should Check
Before buying, always look at the basic specs. You do not need to be an engineer; just focus on a few numbers that matter most.
- Forward voltage (Vf): This is the voltage the LED needs to light up correctly. Many white and blue mini LEDs work around 3 V. Red and yellow types are often closer to 2 V.
- Forward current (If): This is how much current (in milliamps, mA) the LED draws at its normal brightness. Common values are 10–30 mA. Higher current means more brightness but more heat.
- Luminous intensity / brightness: Sometimes shown in millicandela (mcd) or lumens. A higher number means a brighter light. For close crafts or models, very high brightness may be too harsh, so moderate levels work better.
- Viewing angle: This tells you how wide the light spreads. A narrow angle gives a focused spot, while a wide angle gives softer, more even light.
Most good suppliers provide datasheets with these details. Taking two minutes to check them helps you avoid overheating, burning out LEDs, or getting light that is too dim.
Popular Ways To Use Mini LED Lights
Because they are compact and energy efficient, mini LEDs fit into many creative and practical uses. Here are some popular ideas Indian makers and DIY lovers often try.
- Crafts and models: Light up miniature houses, temple models, train layouts, or festival decorations. Tiny LED lights for crafts are perfect to highlight doors, windows, and streets.
- PC and gaming setups: Use them for custom case lighting, under-desk glow, or to backlight shelves holding your collectibles.
- Mini LED backlighting: Install them behind TV panels or display boards for even, high-contrast light that makes colours pop.
- Wearables and accessories: Add subtle light accents to costumes, dance outfits, or stage performances, while keeping heat and power use low.
If you enjoy electronics-based projects, you might also like practical how-to guides such as this one on using miniature lights to enhance craft work.
How To Choose The Right Mini LED Lights
To avoid confusion, follow this simple step-by-step method.
- Define your purpose. Is it for close-up crafts, room accent lighting, or a bright indicator light? Softer decoration needs a wide angle and moderate brightness, while indicators and signs can use stronger, focused light.
- Measure your space. Check how much room you have for each LED. Tiny SMD packages like 0603 suit very tight spaces. Through-hole types are easier to handle if you have a bit more space.
- Match voltage and power source. If you use coin cells or 3 V power supplies, pick LEDs with a forward voltage close to 3 V and design the circuit with a resistor. For 5 V USB power, add the correct resistor so you do not overdrive the LED.
- Pick colour and effect. Decide if you want warm white, cool white, or colours like red, green, blue, or multicolour effects. Warm white suits traditional decor, while cool white and colours fit modern and gaming looks.
For entrepreneurs building small lighting products or DIY kits, it also helps to plan your product launch basics carefully. You can explore tips on this in a broader business-focused guide like things you must do before launching your business.
Featured Option: 3 V Solid Mini LEDs
For many hobby and design projects, 3 V solid mini LEDs are a sweet spot. They work well with simple coin cells, common 3.3 V microcontroller boards, and compact battery packs.
These lights usually offer:
- A compact size that hides easily in models and slim panels
- Reliable brightness without needing complex drivers
- Good compatibility with basic resistors and simple wiring layouts
If you are planning series or parallel wiring, a consistent 3 V rating across your LEDs makes calculations easier and keeps your design neat.
Basic Installation & Soldering Tips
Wiring mini LED lights is not difficult if you keep a few points in mind.
- Check polarity: LEDs have a positive (+, anode) and negative (−, cathode) side. On through-hole types, the longer leg is usually positive. On SMD types, look for a small mark or notch on the negative side in the datasheet.
- Always use a resistor: A small series resistor limits current and protects the LED from burning out. For many 3 V LEDs on a 5 V supply, a resistor in the range of 100–330 ohms works, but you should confirm using the current values from the datasheet.
- Use low heat while soldering: Too much heat can damage the LED. Use a fine-tip iron, low to medium temperature, and work quickly.
- Test as you go: After wiring a small section, test before sealing or gluing anything. This saves time if you need to fix a joint or reverse polarity.
FAQs About Mini LED Lights
Q1. What is the difference between mini LED and micro LED?
Mini LED refers to very small LEDs used in large numbers, for example in TV backlights and compact lighting projects. Micro LED is an even smaller and more advanced technology where each tiny LED can act as an individual pixel in a display. Micro LEDs are more complex and currently less common for hobby use, while mini LEDs are widely available and easier to use for DIY projects.
Q2. Can I power a 3 V mini LED directly from a 5 V source?
It is better not to connect a 3 V LED directly to 5 V. You should always add a current-limiting resistor to protect the LED. For example, if your LED draws 20 mA at 3 V, and your supply is 5 V, choose a resistor that drops the extra 2 V at 20 mA. This keeps the LED safe, gives steady brightness, and extends its life.
Q3. How long do mini LED lights usually last?
Mini LEDs can last tens of thousands of hours if you run them within their rated voltage and current, keep them cool, and use good connections. In many hobby and decorative projects, this means they will keep working reliably for many years of normal use.